
Last Updated: October 2026
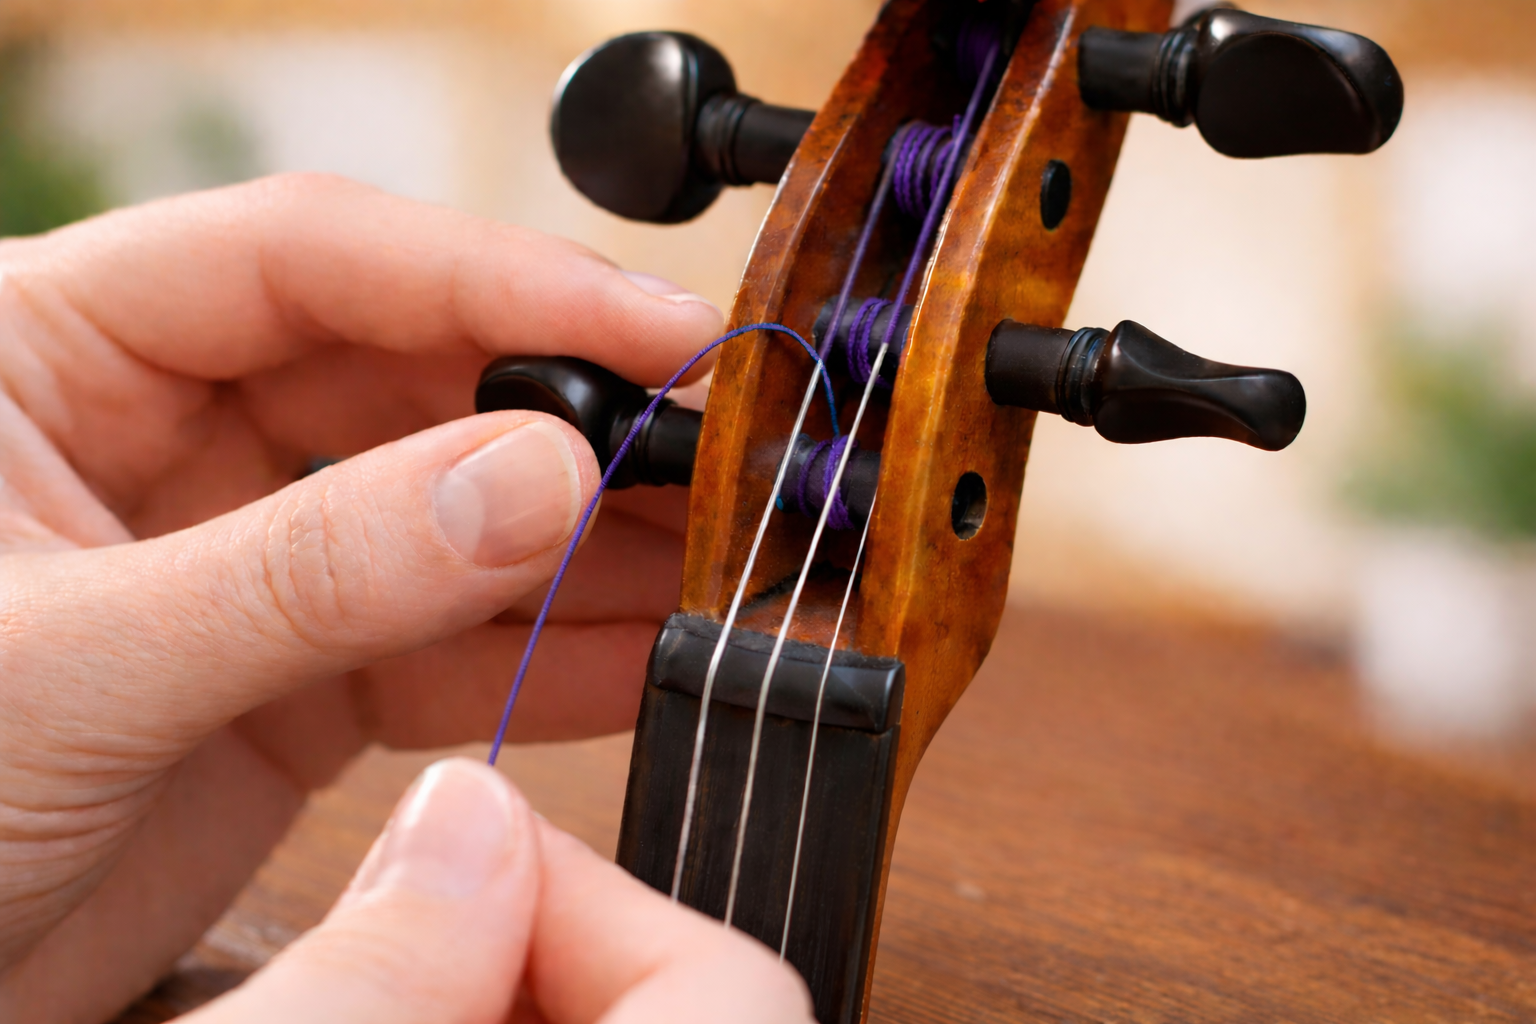
Changing violin strings for the first time can feel stressful, but it’s a straightforward skill once you understand the steps.
The most important rule is simple:
Change one string at a time.
Do not remove all four strings at once.
The bridge is not glued in place, and the soundpost inside the violin is held between the top and back plates by its fit and pressure. Removing all four strings at once releases most of the string pressure and can allow the bridge to fall or the soundpost to shift or fall.
Changing strings one at a time helps keep the instrument and its setup stable while you work.
If you’re unsure whether it’s time to replace them, start here:
How Often Should You Change Violin Strings? (Adult Players)
What You Need
- A new set of violin strings (correct size; most adults play a full-size 4/4 violin)
- A tuner (clip-on or phone app)
If you use Practical Violinist Studio, the Studio tools include an in-app tuner. - A soft cloth
- Pencil (optional, for a small amount of graphite in string grooves)
Important: Ball End vs. Loop End Strings
Violin strings come with two types of ends:
1. Ball End
A small metal bead at the end of the string.
- Works with most beginner tailpieces
- Typically used with tailpieces that have four built-in fine tuners
2. Loop End
A small metal loop instead of a ball.
- Used mainly on violins with a single fine tuner (usually on the E string)
- Often seen on more traditional or intermediate tailpieces

How to check which you need
Look at your tailpiece (the piece at the bottom of the violin that holds the strings):
🎻 If your violin has four built-in fine tuners
This is the most common setup on beginner instruments.
- Each string connects to a fine tuner with a small metal slot.
- These fine tuners are designed for ball end strings.
- In this case, you should use ball end strings for all four strings.
🎻 If your violin has only one fine tuner (usually on the E string)
This setup is common with more traditional tailpiece designs.
In this case:
- The E string fine tuner may accept either a ball or loop, depending on the design.
- The other three strings (G, D, A) usually attach directly into the tailpiece through small holes or slots that accept ball ends.
So even with a single fine tuner tailpiece, most modern tailpieces still use ball ends for G, D, and A.
Loop ends are most often used for E strings when the fine tuner has a small hook designed specifically for a loop end.
What About Removable Ball Ends?
Some E strings have a removable ball.
This means:
- With the ball attached → it functions as a ball end string.
- With the ball removed → it becomes a loop end string.
If you’re unsure, check the string packaging; it will say ball end, loop end, or ball with removable adapter.
Simple Rule for Most Adult Beginners
If your violin has four fine tuners, use ball end strings.
That’s correct for the vast majority of adult beginner instruments.
If you’re unsure about your setup, see:
Why Some Violins Have One Fine Tuner and Others Have Four (Beginner’s Guide)
Best Order to Change Violin Strings
A simple order to follow is:
G → D → A → E
You do not have to change the strings in this exact order. The important part is replacing one string at a time.
Starting with G and working upward is easy to remember and leaves the thin, more delicate E string for last.
Step-by-Step: How to Replace One Violin String
We’ll replace the G string first, then repeat the same steps for the others.
Step 1: Loosen the Old String
Turn the matching peg slowly so the pitch goes down.
Keep turning until the string is loose and floppy.
Do not force a stuck peg.
Step 2: Remove the Old String
At the bottom (tailpiece)
Unhook the ball or loop end from the fine tuner or hook.
At the top (peg)
Pull the string out of the peg hole.
Step 3: Set the Fine Tuner Near the Middle
Before installing the new string:
Turn the fine tuner so it sits about halfway in its adjustment range.
Not screwed all the way down.
Not fully loosened.
This gives you room to tune both sharper and flatter after the string stretches.
Step 4: Quick Peg Check (Optional)
With the string removed, take a quick look at the peg.
- Make sure it turns smoothly.
- Wipe off any visible dust with a dry cloth.
- Do not use oil or household lubricants.
If the peg:
- slips constantly
- is extremely difficult to turn
- will not hold its position
- makes an actual cracking sound
Do not force it. The peg may need adjustment or fitting rather than anything related to the string itself. A violin shop can inspect it and determine what needs to be corrected.
Step 5: Add a Small Amount of Graphite (Optional but Helpful)
With the old string removed, you’ll see two small grooves:
- One at the nut (near the scroll)
- One at the bridge
These grooves guide the string and help keep spacing correct.
Why add graphite?
A tiny bit of graphite (from a regular pencil) acts as a dry lubricant. It helps:
- The string move smoothly while tuning
- Reduce sticking or sudden jumps in pitch
- Minimize stress on the bridge and nut
How to apply it:
- Lightly rub the tip of a pencil in the groove.
- You only need a small amount; just enough to leave a light gray mark.
- Do not dig or scrape.
That’s it. No oil, no grease, no household products.
Then proceed with installing the new string.
Step 6: Attach the New String at the Bottom
Secure the ball or loop end into the tailpiece or fine tuner.
Make sure it is fully seated and not hanging partially out.
If replacing the E string, check for protection at the bridge:
E String Bridge Protection
Because the E string is very thin, it can gradually cut into the top of the bridge.
You may see:
- a small parchment patch attached to the bridge under the E string
- a small clear or colored plastic sleeve supplied with the E string
If your new E string includes a protective sleeve, position it at the bridge according to the string manufacturer’s instructions.
Do not transfer an old sleeve from the string you removed onto the new string.
If your bridge already has a parchment protector and you are unsure whether the new string’s sleeve is also needed, follow the string manufacturer’s instructions or ask your violin shop.

Step 7: Insert the String into the Peg (Important Direction)
Push the string through the hole in the peg.
Leave about ½ inch (1–1.5 cm) sticking out.
Now begin turning the peg slowly.
First Wrap: Lock the String
As you begin winding, make the first wrap on one side of the peg hole.
Then guide the string across the short end sticking through the hole and make the next wrap on the opposite side. This traps the short end between the wraps and helps keep the string from slipping.
After that, continue winding neatly toward the peg handle. Keep each wrap beside the previous one without letting the string bunch up or repeatedly cross over itself.
Keep light tension on the string with your other hand as you wind.
After the First Wrap
Continue winding so that:
- The coils should move toward the peg head (the part you turn to tune), not toward the small end sticking out on the opposite side.
- Each wrap sits neatly beside the previous one.
- The string does not overlap itself after the first locking wrap.
Wind slowly and keep light tension on the string with your other hand.
Step 8: Bring the String Up to Pitch Slowly
Use your tuner.
Tune gradually until the note matches:
- G string → G
- D string → D
- A string → A
- E string → E
Do not rush this step.
Step 9: Check the Bridge
As you bring the string up to pitch, the bridge can shift slightly.
Most often, it leans forward toward the fingerboard, but it can lean either direction.
How to Check
Look at the bridge from the side.
The side of the bridge that faces the tailpiece should be nearly perpendicular (straight up and down), not leaning forward or backward.
If the top of the bridge is noticeably angled either direction, it needs correction before you continue tuning.
How to Gently Correct a Leaning Bridge
If the bridge is only slightly tilted and you are comfortable correcting it:
- Loosen the strings slightly to reduce tension.
- Place the violin securely on your lap or another protected surface.
- Using both hands, gently hold the bridge near its upper edges and guide it back toward the proper position.
- Make only very small adjustments, then retune and check the bridge again from the side.
Important
Do not make a large bridge adjustment under full string tension.
If the bridge is severely tilted, warped, or you are unsure how to move it safely, stop and have a violin shop correct it.
Why This Matters
A leaning bridge can:
- Warp over time
- Affect tone and setup
- In severe cases, tip over
Checking the bridge briefly after each new string helps keep it in the proper position.
Step 10: Expect Stretching
New strings stretch.
For the next few days:
- The violin will go out of tune frequently.
- You will retune often.
- The tone may sound different, and sometimes brighter, at first.
This is normal.
If you replaced old factory strings and notice improvement, you may also want to read:
Upgrading Your Violin Strings: When It Makes Sense (And What to Choose Next)
Repeat for Remaining Strings
Follow the same process for:
D → A → E
Always check:
- Ball/loop end secure
- Fine tuner neutral
- Peg winding correctly
- Bridge upright
After Installing New Strings
To keep them in good condition:
- Wipe strings with a dry cloth after playing
- Avoid household cleaners on the instrument
Helpful follow-ups:
- How to Clean Violin Strings (Without Damaging Your Instrument)
- A Simple Violin Maintenance Checklist for Adult Players
Common Mistakes to Avoid
- Removing all four strings at once
- Over-tightening the E string
- Letting the bridge lean in either direction
- Wrapping the peg messily
- Forgetting to center the fine tuner before installing
After Installing New Strings
New strings commonly need frequent retuning for the first few days while they settle.
If the strings continue going noticeably out of tune after that initial settling period, see Why Do My Violin Strings Go Out of Tune Quickly (And How to Fix It).
FAQ
Can I change violin strings myself?
Yes. As long as you replace one string at a time, tune slowly, and check that the bridge stays upright, it’s a safe skill for adult players to learn. Many beginners do this at home successfully.
Should I remove all four violin strings at the same time?
No. Removing all four strings at once releases the string pressure that helps keep the bridge and soundpost stable. Replace one string completely before moving on to the next.
Why won’t my violin stay in tune after restringing?
New strings stretch during the first few days. You’ll need to retune frequently until they settle. This is normal and does not mean something is wrong.
Which violin string should I change first?
Start with the lowest string (G) and work upward:
G → D → A → E.
This keeps tension changes gradual and leaves the most delicate string (E) for last.
How long does it take to change violin strings?
For a first-time adult beginner, expect 20–30 minutes. With practice, it takes about 10–15 minutes.
Leave a Reply