
Last Updated: May 2026
If your violin sounds out of tune even when it’s tuned correctly, the issue is usually not the instrument, it’s where your fingers are landing.
This is one of the most common frustrations for adult beginners. You may already understand where the notes should be, but your fingers don’t land there consistently. Some notes sound right, others don’t, and it can feel like guesswork.
The problem isn’t knowledge, it’s consistency.
This article will show you how to make finger placement repeatable and reliable, so you’re not trying to “find” every note from scratch.
Why Finger Placement Feels Inconsistent
On violin, there are no frets or markers. That means accuracy comes from two things working together:
- your hand placing the finger in the same spot each time
- your ear recognizing when it’s slightly off
Early on, neither of these is fully developed.
So what happens?
You place a finger → it’s a little off → you adjust → next time you place it somewhere slightly different again.
This repeated pattern is what creates the feeling of guessing.
The Key Idea: Stop Finding Notes, Start Repeating Them
Most beginners try to find each note every time they play it.
That doesn’t work well.
Instead, the goal is simple:
Place your finger in a known correct spot and repeat that placement until your hand remembers it.
This may seem like a small change in how you think about it, but it makes a big difference.
You’re no longer trying to solve the problem from scratch each time.
You’re building consistency by returning to the same place again and again.
A Simple Way to Train Accurate Finger Placement
Start with one string so your focus stays simple. The A string is a good place to begin.
Place your first finger down where it normally sits in first position.
Now we need to make sure that spot is actually correct.
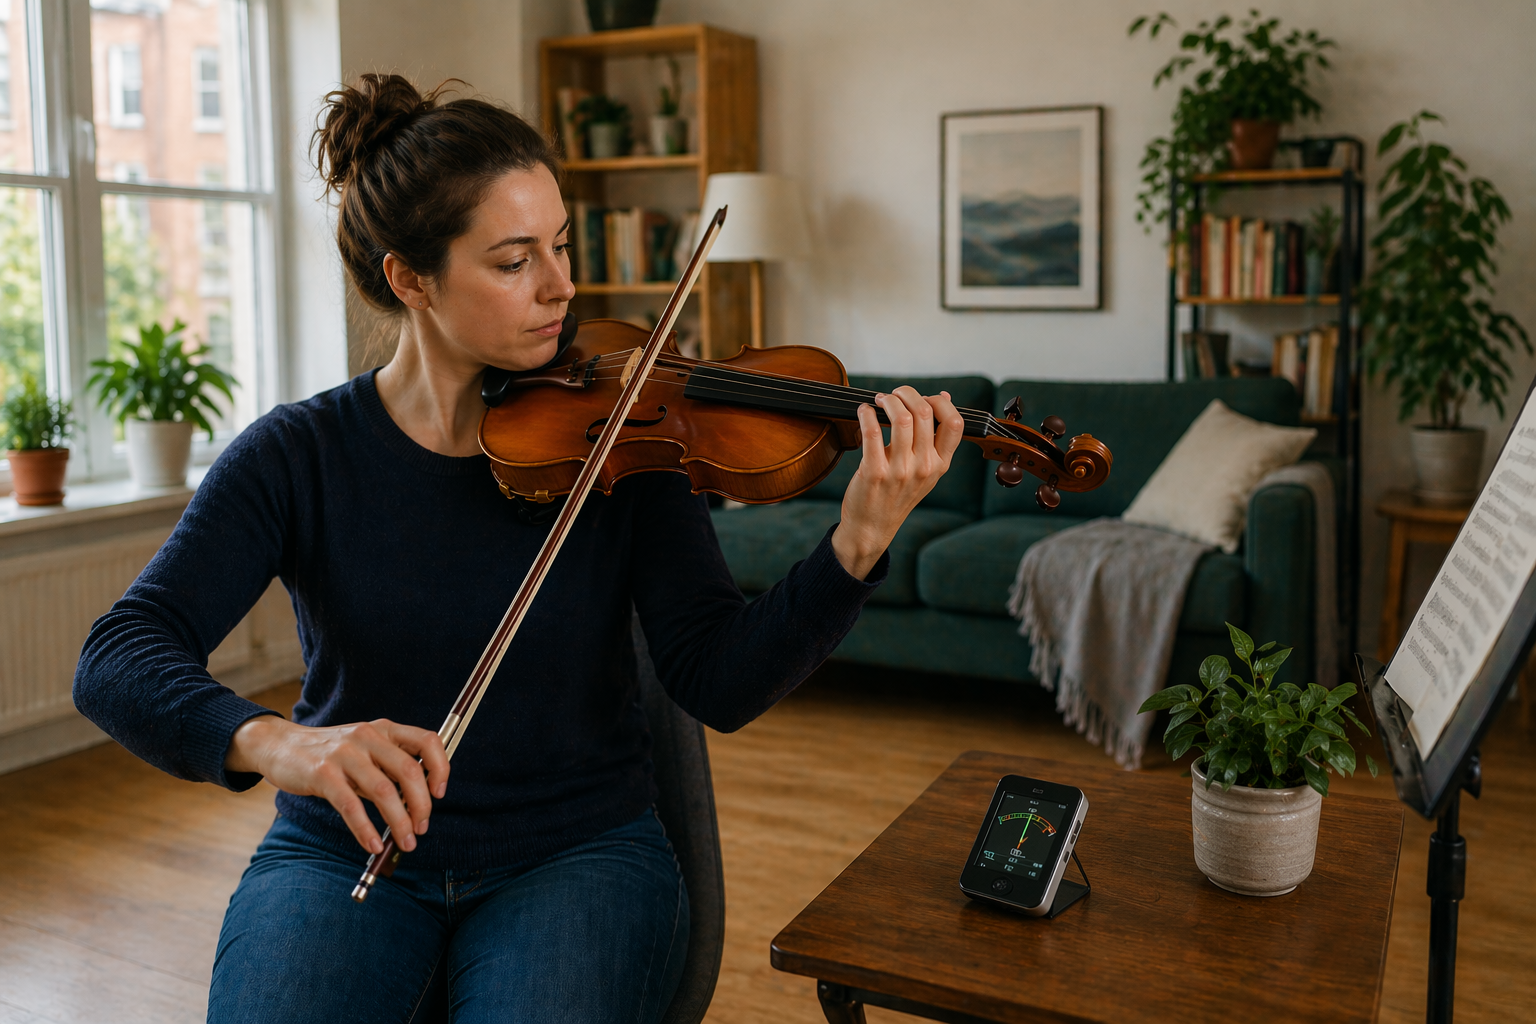
Use a tuner.
Play the note and watch the tuner reading. On the A string, your first finger should be B. Slowly adjust your finger forward or backward until the tuner shows the correct pitch.
Take your time here—this is important. You are creating your first reliable reference point.
Once the note is correct, pause.
Lift your finger completely off the string, then place it down again in what feels like the same spot. Check it again with the tuner.
Repeat this several times.
This is where the learning happens, not in finding the note once, but in returning to the same place consistently.
Once your first finger starts landing closer on its own, you can add your second finger and follow the same process.
If you’re using finger tape, the tape line acts as your reference instead of the tuner. If you’re not using tape, the tuner gives you that same reference so you know exactly where the note should be.
What Good Finger Placement Should Feel Like
When your placement starts improving, you’ll notice a few changes:
Your fingers land closer to the correct spot the first time.
You make fewer adjustments after the note starts.
Your hand feels more stable instead of shifting around.
It won’t be perfect, but it will feel more predictable.
That’s the goal.
Common Habits That Cause Inaccuracy
A few small habits can make finger placement inconsistent even if you understand the notes.
One of the biggest is reaching for notes instead of placing them from a stable hand shape. When your hand moves around, your spacing changes every time.
Another is lifting your fingers too far off the string. That makes it harder to return to the same spot.
You may also notice yourself adjusting the finger after the bow starts. Small adjustments are normal, but large ones usually mean the initial placement wasn’t grounded.
If your hand feels tight while doing this, that’s a separate issue worth fixing—see Why Your Left Hand Gets Tense on Violin (and How to Fix It).
Using Tools Without Becoming Dependent on Them
If you’re using finger tape or a tuner, that’s completely fine.
They help you establish correct placement early on.
If you’re not using tape, your article How to Tune a Violin by Ear (Even If You’re a Beginner) can help you check pitches more confidently.
Either way, the goal is the same:
Use tools to confirm placement, then rely on repetition so your hand learns it.
Over time, you’ll need the tools less because your fingers will land closer automatically.
A Short Daily Practice That Builds Accuracy
You don’t need long exercises to improve this.
A few focused minutes is enough.
Choose one string.
Place a finger.
Check it.
Lift it.
Place it again.
Do that slowly and deliberately.
You’re building consistency, not speed.
This fits naturally into a simple routine; if you want a structured approach, see A Simple 20–30 Minute Violin Practice Routine for Busy Adults (Step-by-Step).
If Your Practice Still Feels Unstructured
Sometimes the issue isn’t just finger placement, it’s not knowing what to focus on each day.
Instead of jumping between random exercises, it helps to follow a plan that builds technique step by step.
If you want a guided approach, Practical Violinist Studio walks you through a daily practice structure so you’re not guessing what to work on next. It combines accuracy work like this with tone, rhythm, and real music in a balanced way. Create your free practice plan today.
When This Starts to Click
At first, you’ll still need to check notes often.
Then you’ll notice your fingers landing closer without as much correction.
Eventually, your hand remembers the spacing, and your ear just fine-tunes it.
That’s when playing in tune starts to feel natural instead of frustrating.
Final Thought
Finger placement isn’t about guessing, it’s about repetition.
You don’t need perfect pitch.
You don’t need to memorize everything at once.
You just need to place your fingers correctly, repeat it, and let your hand learn over time.
Affiliate Disclosure: Some links in this article may be affiliate links. As an Amazon Associate and participant in other affiliate programs, we may earn from qualifying purchases at no additional cost to you.
Leave a Reply